Set up your farm store in under 30 minutes
A step-by-step walkthrough, from creating your account to taking your first order. No tech skills, no web designer, no prior experience with e-commerce needed.

Before you start
You’ll need three things: your farm name, a few product photos on your phone, and 30 minutes. That’s it. No ABN required to start the trial. No card. No domain name. You can add all of that later.
By the end of this walkthrough, you’ll have a live store at yourfarm.hecta.com.authat customers can browse, add products to their cart, and order from. Everything below happens inside the Hecta dashboard — no code, no file uploads, no DNS settings.
Step 1: Create your account
Go to hecta.com.au/register. Enter your name, email, password, and your farm name. That’s the whole form — four fields.
Your farm name becomes your store URL: if you type “Rivera Farming,” your store lives at riverafarming.hecta.com.au. You can add your own domain later (free on all plans), but for now the Hecta subdomain works perfectly.
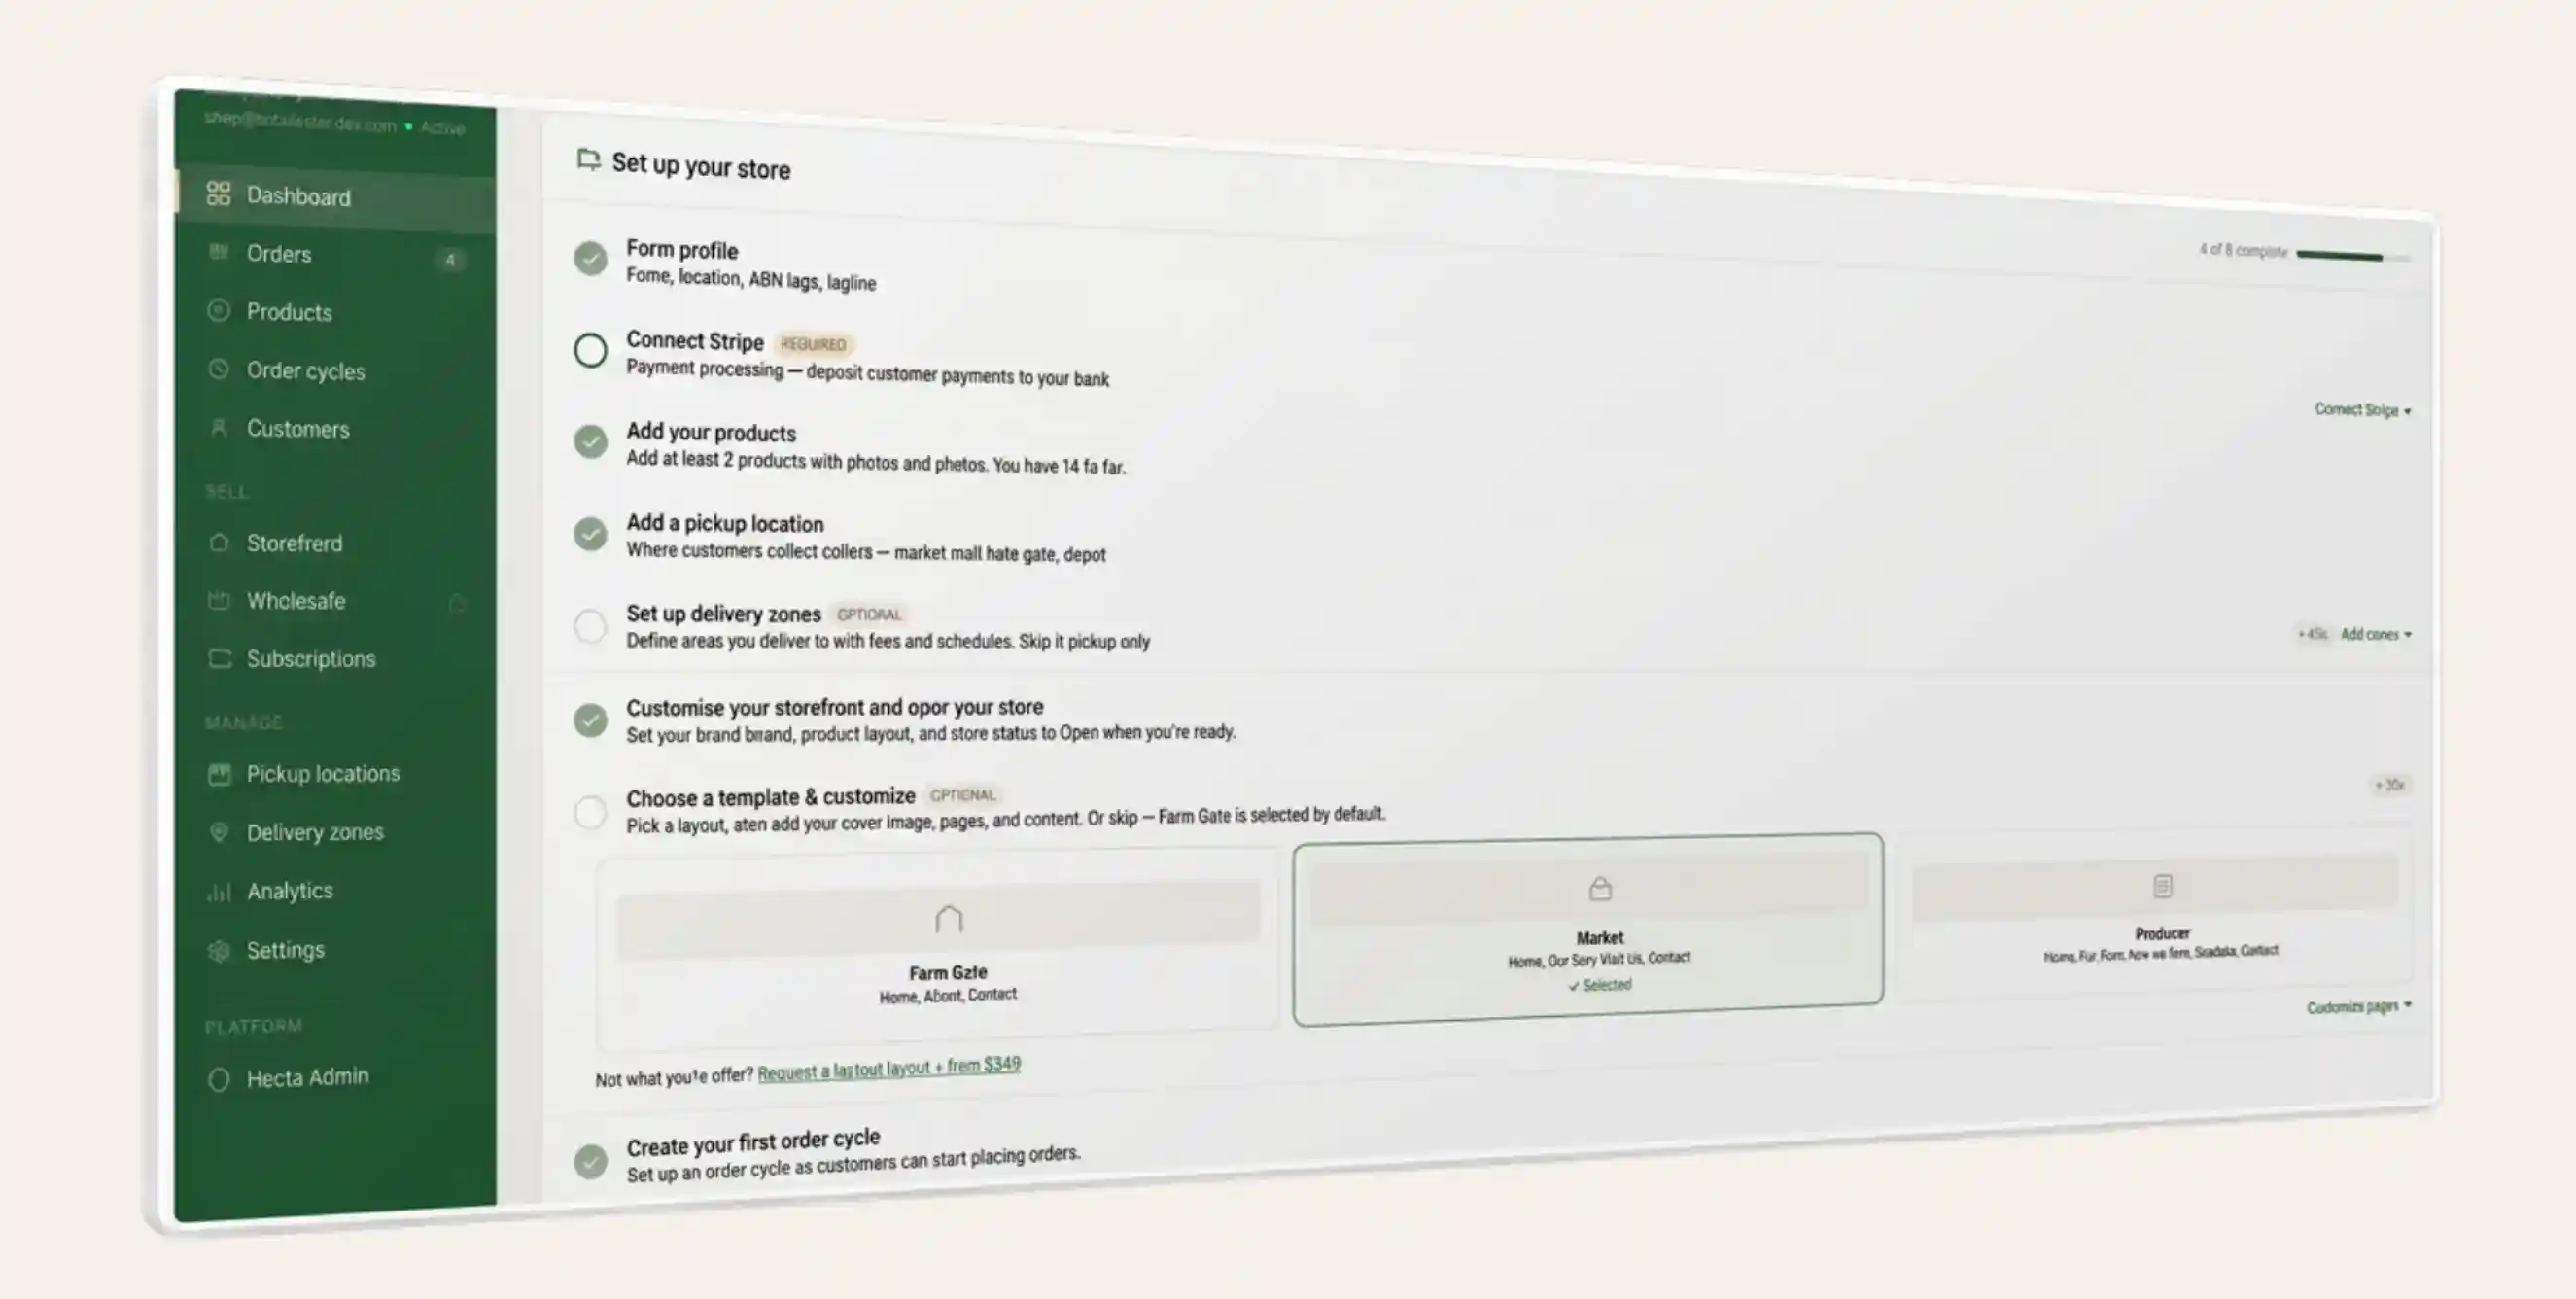
Once you submit, you land on your dashboard with a checklist showing what to do next. The first two steps — your farm profile and connecting GoCardless for payments — take about a minute each.
Step 2: Add your first products
Click “Add product” in your dashboard. For each product, you fill in: a name, a category (Meat, Vegetables, Dairy — whatever fits), a photo from your phone, a short description, and a price.
Selling by weight? Toggle “Variable weight” on. Set the price per kilo and add sizes — Small (0.8–1.0kg), Medium (1.2–1.5kg), Large (1.6–2.0kg). Your customer picks a size, sees an estimated price, and their card is only charged the actual weight after you pack. No manual invoicing, no refunds.
Fixed-price products? Just enter the price. Eggs at $9 a dozen, salad box at $12. Done.
Three products is enough to launch. You can add more anytime. Don’t let “I need to photograph all 30 products” stop you from going live today. Three good products with clear photos is better than 30 products with no photos.
Step 3: Add a pickup location
Click “Add location” in Settings. Type a name — “Farm gate” or “Rusty’s Markets” or “Malanda pickup.” Enter the address. Set the day and time — Saturday 8am to 12pm. Optionally set a maximum number of orders per pickup. Save.
That’s it. Your customers now see this location as an option at checkout. If you sell at two markets, add both — the customer picks which one suits them.
Delivery zones are optional and you can add them later. For your first week, pickup only is perfectly fine. Most farms start with pickup and add delivery after they’ve processed their first 10 orders.
Step 4: Make it look like yours


Go to the Storefront editor in your dashboard. Three things to do here:
Upload a cover image. A photo of your farm, your paddock, your produce on a market table — whatever represents your farm best. This is the first thing customers see. A landscape photo works best.
Write a tagline. One sentence that says what you do: “Pasture-raised lamb and seasonal vegetables from the Atherton Tablelands.” Customers read this in 3 seconds — keep it short, keep it real.
Choose a template. Pick from Farm Gate (simple: home, about, contact), Market (adds an Our Story and Visit Us page), or Producer (adds Our Farm, How We Farm, and Stockists pages). You can change this anytime.
The storefront is already functional without any customisation. But 10 minutes adding a cover photo, a tagline, and a short About section makes the difference between “a shop” and “your shop.”
Step 5: Open your store
Go to Cycles and click “Create cycle.” Give it a name — “Week 1.” Set when orders open (Monday 8am), when they close (Wednesday 6pm), and when pickup is (Saturday). Select which products are available. Hit Publish.
Your store is now live. Customers can visit yourfarm.hecta.com.au, browse your products, and place orders. When the cycle closes on Wednesday, orders stop automatically. Your packing list generates. Saturday morning, you pack and hand out. Monday, create a new cycle and do it again.
Don’t want order cycles? If you’d rather take orders anytime (like a regular online shop), enable “Always open” mode instead. Orders come in continuously, you pack and fulfil on your own schedule. Some farms prefer this — especially those shipping nationally rather than doing weekly pickup.
What happens next
Your store is live but there’s more you can do when you’re ready. None of this is required to start taking orders — it’s what you add as you grow.
Add delivery zones so customers in nearby towns can get their order delivered. Set a fee per zone, a free delivery threshold, and a delivery schedule. Customers outside your zones see pickup only. Read: Setting up delivery zones →
Add shipping for customers further away. Flat-rate tiers — free express over $70, standard $9.95 — like any online shop. You pack and ship via Australia Post or Sendle, enter the tracking number, and the customer gets a shipping notification.
Start subscriptions so your regulars get a box every week without reordering. Create a plan (Small Veggie Box, $28/week), customers subscribe, you pack their box each cycle. They can skip, pause, or cancel anytime. Read: How to start a CSA subscription box →
Connect your domain so customers visit yourfarm.com.au instead of the Hecta subdomain. Free on all plans. Add a CNAME record at your registrar or email us and we’ll set it up for you.
Share your store. Put the link in your Instagram bio, your Facebook page, your market stall signage, and your email signature. The customers are already out there — they just need the link.